Professional programmes in:

Music Production | Sound Engineering | Music Education | Dance | Theatre

Understanding EQ and Compression in Music Production

Mixing & mastering your own music can be a tricky task if you’re a new producer. It’s easy to overuse mastering tools and, as a result, unbalance your track, which is why we think it’s crucial to set aside some time for studying the art of audio mastering. While nothing beats a practical course, we thought we’d put together a short blog going over two techniques that form the bread and butter of mixing & mastering – ‘Equalisation’ & ‘Compression’.

Understanding EQ (Equalization)​


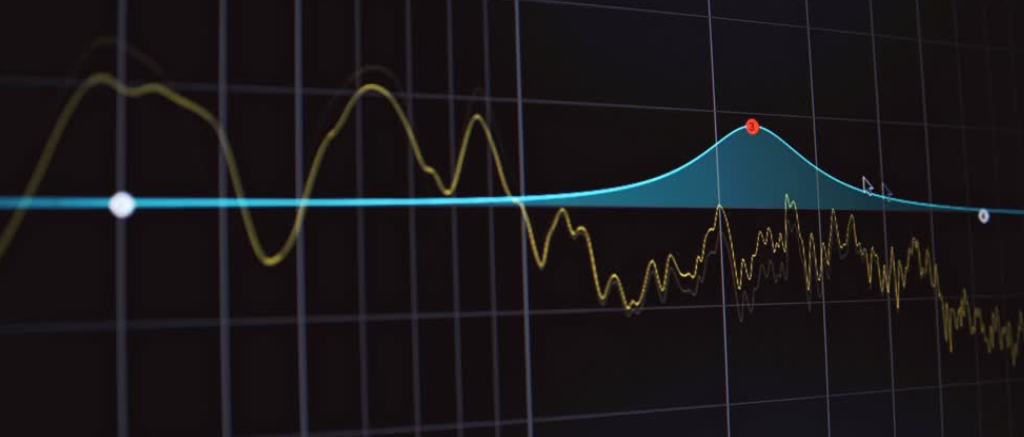
To ‘equalize’ an audio signal is to manipulate its constituent frequencies (in Hz) in a way that you highlight the best sounding parts and dampen the worst sounding parts. ‘Eq’ing’ (as it’s colloquially called) is the immediate next step after adjusting volume levels (“Leveling”), and it can save you a lot of work later on by shaping the tonal quality of the individual tracks and your mix.

There are many EQ plugins on the market, each of which approach equalisation in their own way. We’ve listed a few below for your reference:

Parametric EQs: These offer the most flexibility, allowing you to adjust frequency, gain, and bandwidth with precision & nuance. Great for individual track EQ’ing.
Graphic EQs: These use sliders to adjust levels for fixed frequency bands. A good choice for broad application on your final mix, and also the most common interface for end-listener Equalisation apps (E.g. – WinAmp, EQ Mac, etc.).
Shelving EQs:  These are the most basic, typically using knobs to adjust the volume of specific, pre-determined frequency ranges (200-400Hz) for an audio signal. Probably best used as a reference to identify general areas to use a Parametric EQ on.

Depending on which interface you work with, you’ll encounter different frequency ranges or “bands” that can be adjusted to make certain parts of your audio signal louder and certain parts quieter. While we won’t be able to share tips for EQ’ing every sound you encounter, a good rule of thumb for getting the most out of an EQ plugin is to do a “frequency sweep”. This involves using one of the filter buttons in a parametric EQ to accentuate each individual frequency until you hear resonance, humming, or any sound that overpowers the rest of the signal. Once you’ve swept through, you can cut what sounds bad and boost what sounds good. Here’s an example to help you out:

Understanding Compression

To “compress” an audio signal is to reduce its dynamic volume range. This makes the quiet parts louder and the loud parts quieter. Compression is a good tool to use alongside equalisation, as by narrowing the volume range, you can automatically make an instrument sound louder, saving you the trouble of having to manually increase or decrease the volume of each instrument at different points across your track.

Compression works by applying reduction based on the number of decibels by which a sound crosses a predetermined volume threshold. The degree of reduction can be changed either by shifting the threshold, or by adjusting a ‘compression ratio’. This ratio determines the appropriate amount of compression to be applied; a ratio of x:1 means that for every ‘x’ decibels that a sound is louder than the threshold, the compressor will adjust its volume to only 1 decibel above the threshold.

Most compressors come with controls that allow you to adjust how quickly the compressor responds to signals above the threshold (attack) and how quickly it stops compressing after the signal drops below the threshold (release). Fast attack times catch transients (drums & other percussive sounds), while slower attack times let initial transients through for a more natural sound. The video below will help you understand how this works a bit better:

Just like with EQs, there are several types of compressors. Here are a few popular examples:


VCA (Voltage-Controlled Amplifier) Compressors: VCA compressors are known for their fast response, precision, and versatility, making them ideal for tightening up individual instruments with a naturally wide dynamic range.


Optical Compressors: These are highly favored for vocals, bass, and instruments that require a gentle, organic dynamic control. This is due to the smoothness with which they apply compression.


FET (Field Effect Transistor) Compressor:  FET compressors are best known for their fast attack, aggressive sound, and punchy character, making them a favorite for drums, vocals, and electric guitars.

Compressors have many applications, several of which are, again, beyond the scope of this blog. However, if you’re just starting out with using them, then your first step is going to be identifying which elements of your track need to sound more present in your mix, and which need to be quieter. Once you’ve identified an instrument or sound that needs to be compressed, apply a compressor and experiment with the threshold and ratio knobs to see, how it impacts firstly, the sound of the individual instrument, and secondly, the overall balance of the track.


Your goal with compression is to make your instruments fit together neatly within the sonic space available to you. Excessive compression will cause your instrument to overpower the rest, so make sure your application is track & instrument specific. You may want to consider using multiple compressors on the same instrument, as applying one upon the other in small amounts may yield a more nuanced effect as opposed to a singular application. This is also important to keep in mind as compressors, in reducing dynamic range, also introduce timbral qualities that can make instruments sound either warmer or cooler.

Combining EQ and Compression

Using EQ & compression in tandem is something we highly recommend. By applying EQ to an instrument before compression, you can better mould the timbre of sound it produces, by preventing unwanted frequencies from being amplified, and accentuating the best sounding parts of that instrument. This can result in an overall cleaner sound that accentuates what sounds good about the instrument being played. Try it out!

Conclusion

The art of Mixing & Mastering is a lifelong pursuit, one requiring both patience and persistent practice. However, building a strong understanding of EQ & compression is a simple way to make that journey a little less daunting. Though this blog was only a sneak peak into two expansive mastering techniques, we hope it has given you, at the very least, some titbits to get started with. Happy mastering!

“Want to learn how to give your music the professional treatment it deserves? If so, our professional certifications in music production can give you the training you need to master your mix (pun intended!). Visit our Music Production program page or chat with our advisor to learn more!”


Discover more from Learn Music Production, Sound Engineering, Dance & Theatre courses in Goa | Apply Now at Future School of Performing Arts

Subscribe to get the latest posts sent to your email.

Chat with an Advisor